- Explain why a terrain tool physically cannot sculpt an overhang, in one sentence.
- Sculpt a landform that reads as believable from eye height, not just from orbit.
- Export a 16-bit heightmap into the Unreal Landscape system, and say why 8-bit fails.
- Export terrain geometry as a mesh with its own collision, and know when that is the right choice.
Brief · 20 min Two kinds of ground
Nearly every terrain question you will ask this term resolves to one distinction, and it is not a matter of taste. It is a matter of what the data structure can physically represent.
| Heightfield | Mesh | |
|---|---|---|
| What it is | A grid displaced up and down by a grayscale image — a bedsheet over furniture | Actual geometry, vertices anywhere in space |
| Good at | Huge terrain, painted material layers, cheap LOD, engine foliage scattering | Overhangs, caves, arches, hero rock formations |
| Cannot do | Anything that folds back over itself | Scale cheaply to kilometers |
| In Unreal | The Landscape system | Static Mesh |
A heightfield stores one height per point on the ground. That is the entire definition, and everything follows from it. A cave mouth needs two heights at the same spot — the floor and the roof — so a heightfield cannot hold one. Neither can an overhanging cliff, or an arch, or anything you could walk underneath.
So when the Landscape sculpt tool refuses to make the overhang you want, it is not a missing feature and there is no setting to find. You are asking the structure for something it has no way to store. Model it as a mesh instead.
You now have two sources of ground, and choosing between them is a real design decision. Cesium gives you the actual earth, streamed, at true coordinates — the right answer when the place is the point, as in Project 1. Blender and the Landscape system give you ground that does not exist anywhere, which is the right answer when you are building a world rather than documenting one.
The Week 8 material is the Unreal half of this: Landscape, foliage, PCG, sky. Today is the upstream half, and the handoff between them.
Build · 50 min Sculpt it, then ship it
- Plane, then subdivide
Add a plane, enter Edit mode, right-click → Subdivide, and repeat. Your subdivision count is a hard ceiling on detail — you cannot sculpt a feature smaller than the spacing between vertices. Decide the resolution before you start sculpting, not after you get frustrated.
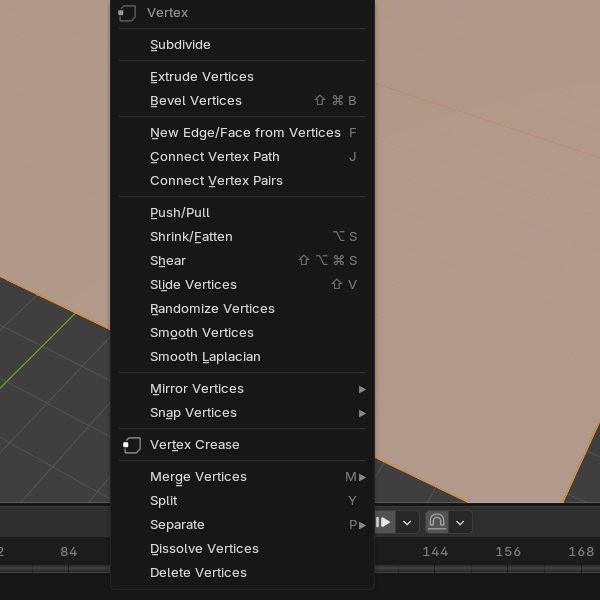
Edit mode, everything selected, right-click. Subdivide is the first item. 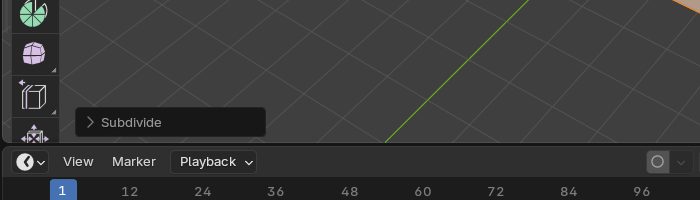
The Adjust Last Operation panel appears bottom-left after Subdivide. Click it, set Number of Cuts; repeat Subdivide as needed. - Big shapes first, with proportional editing
Press O to turn on proportional editing. Now moving one vertex drags its neighbors along in a soft falloff, and the scroll wheel sizes that falloff. One vertex pulled upward with a wide falloff is a believable valley in about ten seconds. Do all of your large landforms this way before you go anywhere near a brush.
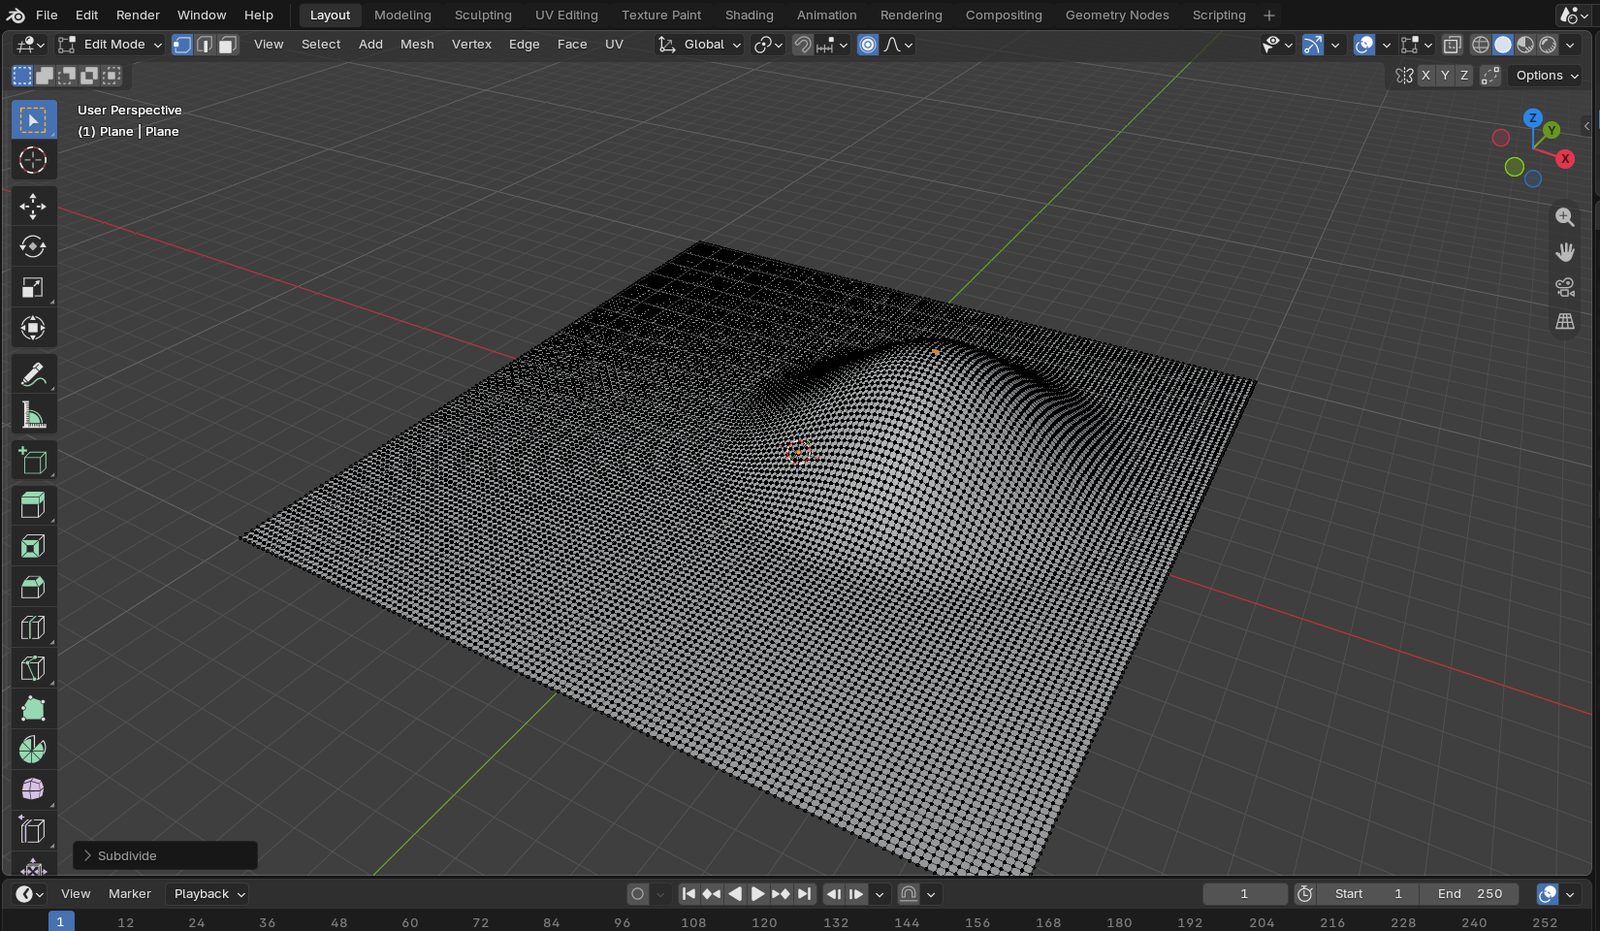
One vertex pulled up with proportional editing on (the ring-shaped icon in the header is lit). The falloff dragged the neighbors into a smooth hill. - Sculpt mode for everything after that
Getting in: leave Edit mode, and switch the mode dropdown at the top-left of the viewport — the one that has been reading Object Mode and Edit Mode all day — to Sculpt Mode (or press Ctrl+Tab and pick it from the pie menu). The toolbar turns into brushes and a blue ring starts following your cursor: that ring is the brush. Click and drag across the plane, and the ground rises under the stroke. That is sculpting; everything else is choosing which brush and how big.
Two defaults will fight you if nobody warns you. In the header's Symmetry controls, top right, X symmetry is on — every stroke you make is silently mirrored across the middle of your terrain, which is baffling until you know. Turn it off for landscape. And if strokes seem to do nothing, the brush is too small or too weak: F drags the radius, Shift+F drags the strength.
Three brushes carry most of the work: Draw to raise ground, Clay Strips for chunky rock faces, Smooth to calm down anything that got noisy. Hold Shift to smooth with whatever brush you have active, Ctrl to invert it, F to resize.
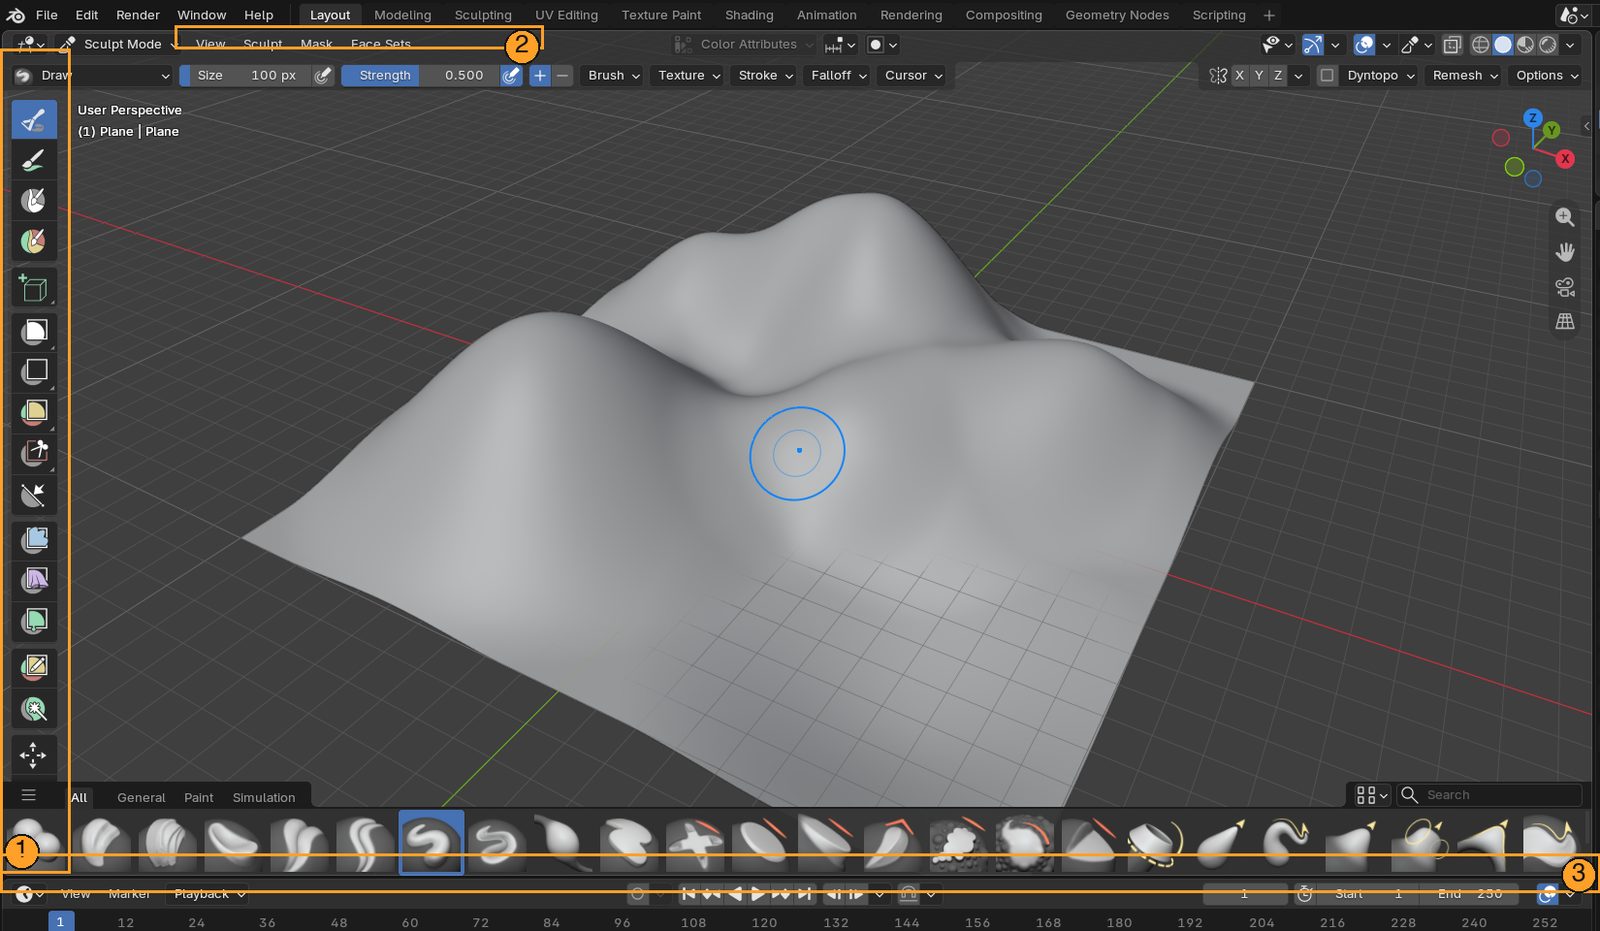
Sculpt mode. 1 The toolbar holds the brushes — Draw, Clay Strips, Smooth are the three you need. 2 Radius and Strength in the header, or F and Shift+F. 3 The asset shelf along the bottom is the same brushes as thumbnails. The blue ring is the brush. - Add irregularity you did not author
A Displace modifier with a Clouds texture breaks up the tell-tale smoothness of hand sculpting. Keep the strength low — this is seasoning, not the meal. Terrain that is noisy everywhere reads as static rather than as landscape.
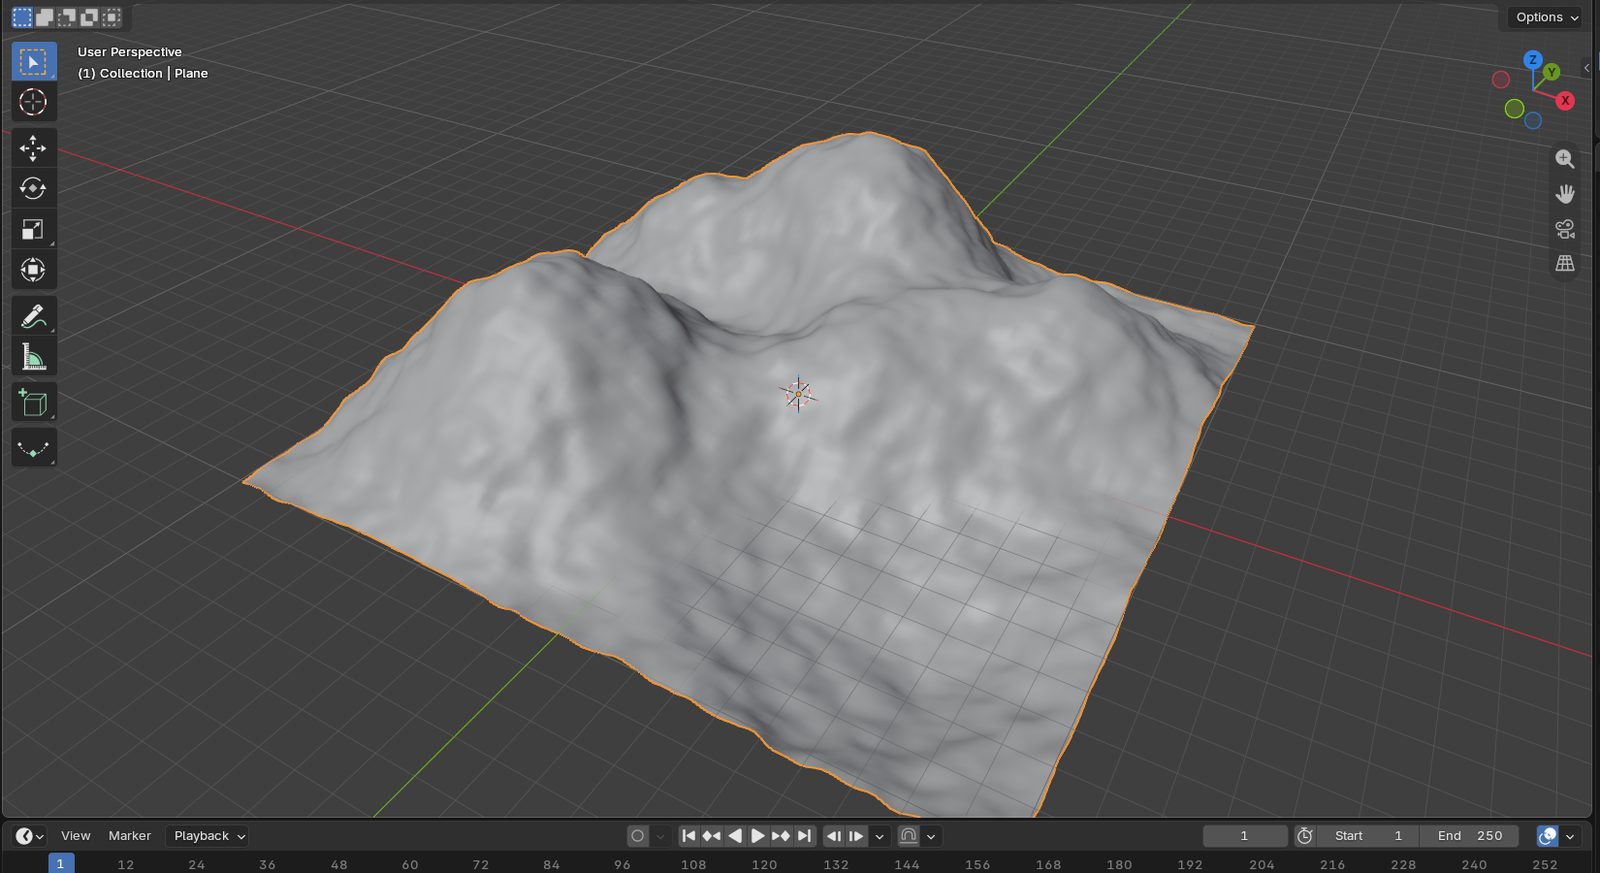
The sculpted landform with a Displace modifier at strength 0.6 and a Clouds texture: fine irregularity you did not hand-author. 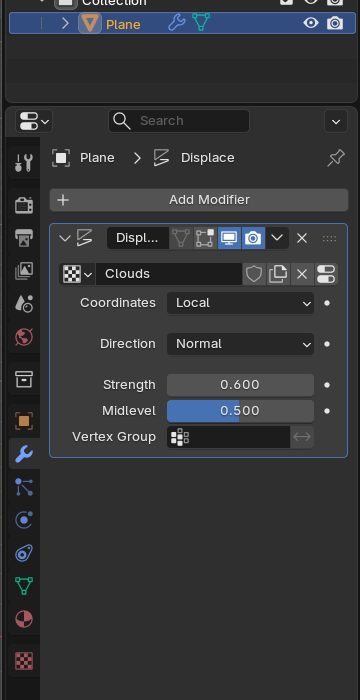
The Displace modifier in the Modifiers tab. Click the texture field to make a new texture, then set its type to Clouds on the Texture tab (the checkerboard icon at the bottom of the tab column). Keep Strength low. - Look at it from eye height
This is the step everyone skips, and it is the one that decides whether the terrain is any good. Drop the camera to about 1.7 m and look across the landform rather than down at it. Terrain that looks magnificent from orbit routinely reads as a featureless slope from where a person actually stands — and in this course, where people will stand in it wearing a headset, that is the only view that counts.
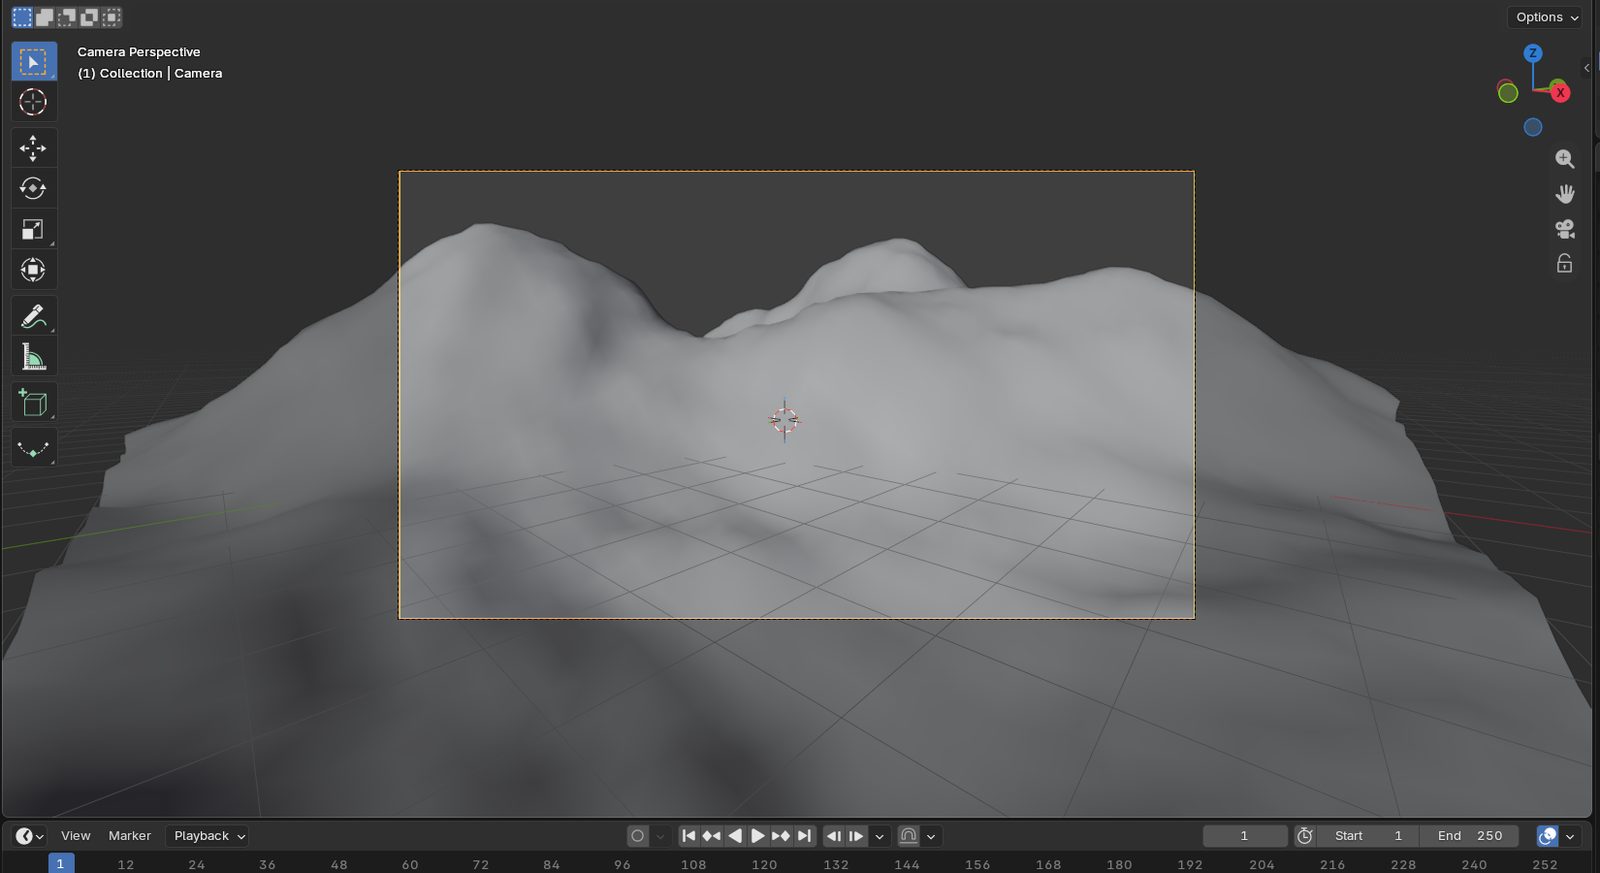
The same terrain seen through a camera placed 1.7 m above the ground. Add a camera, put it at eye height, and look through it with Numpad 0. This is the view that decides whether the terrain is any good. - Decimate to a budget
Turn on the statistics overlay so you can see your triangle count, then use a Decimate modifier to bring it down. Set the object origin somewhere meaningful while you are here — the corner or the center, chosen on purpose, so placing it in Unreal is predictable.
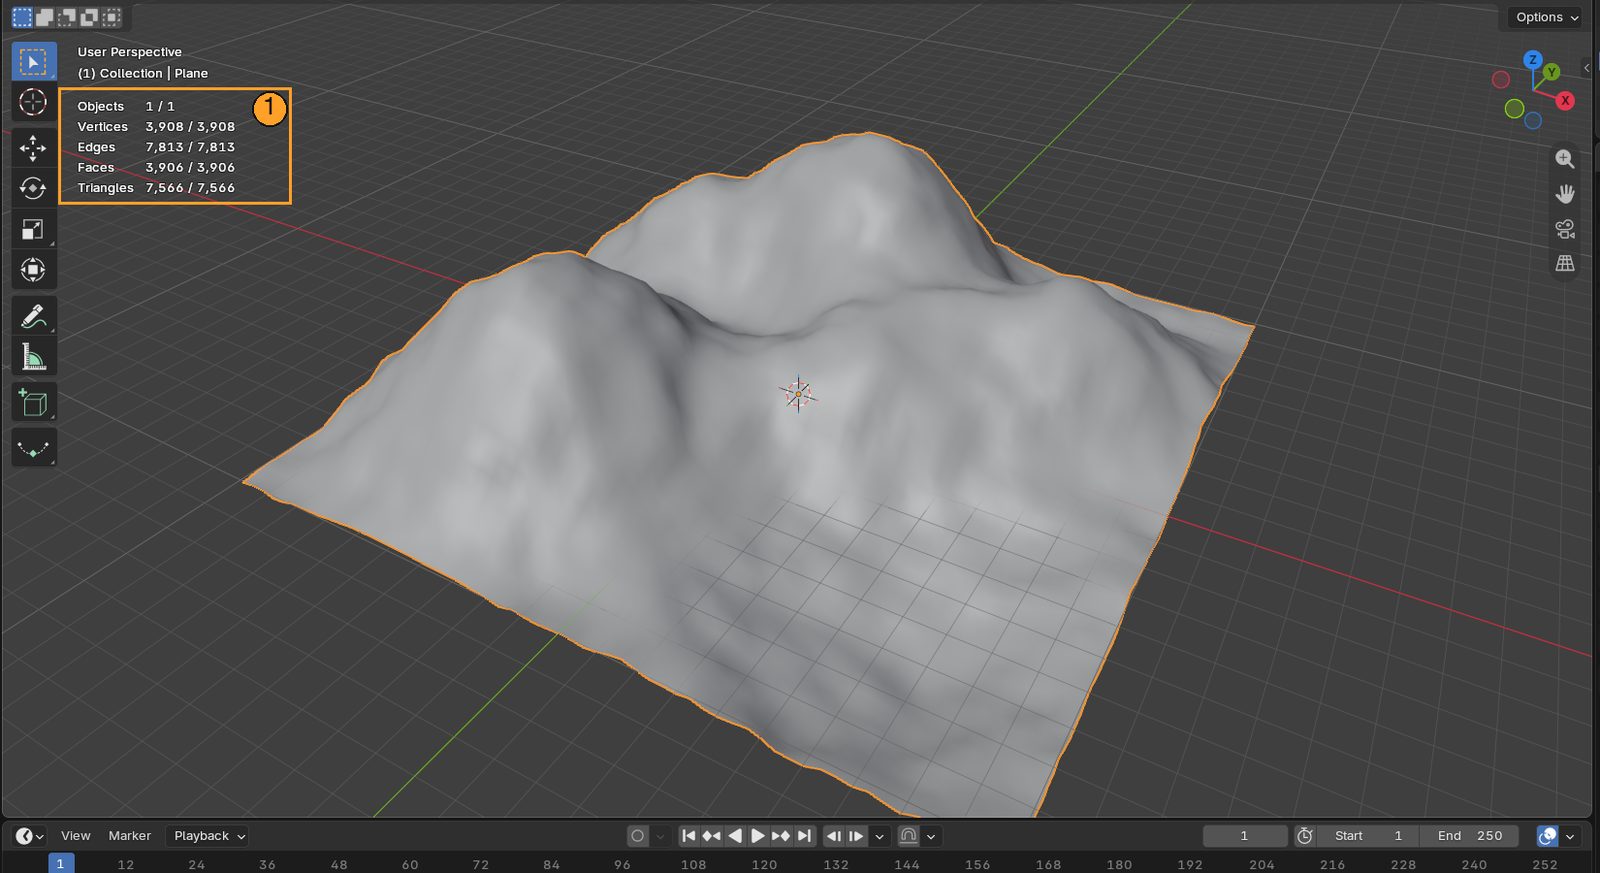
1 The Statistics overlay in the viewport corner: vertices, faces, triangles, live. 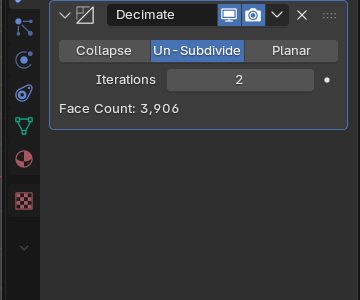
A Decimate modifier. Collapse with a ratio is the usual choice; Un-Subdivide keeps the grid clean on a subdivided plane. Watch Face Count and the silhouette. 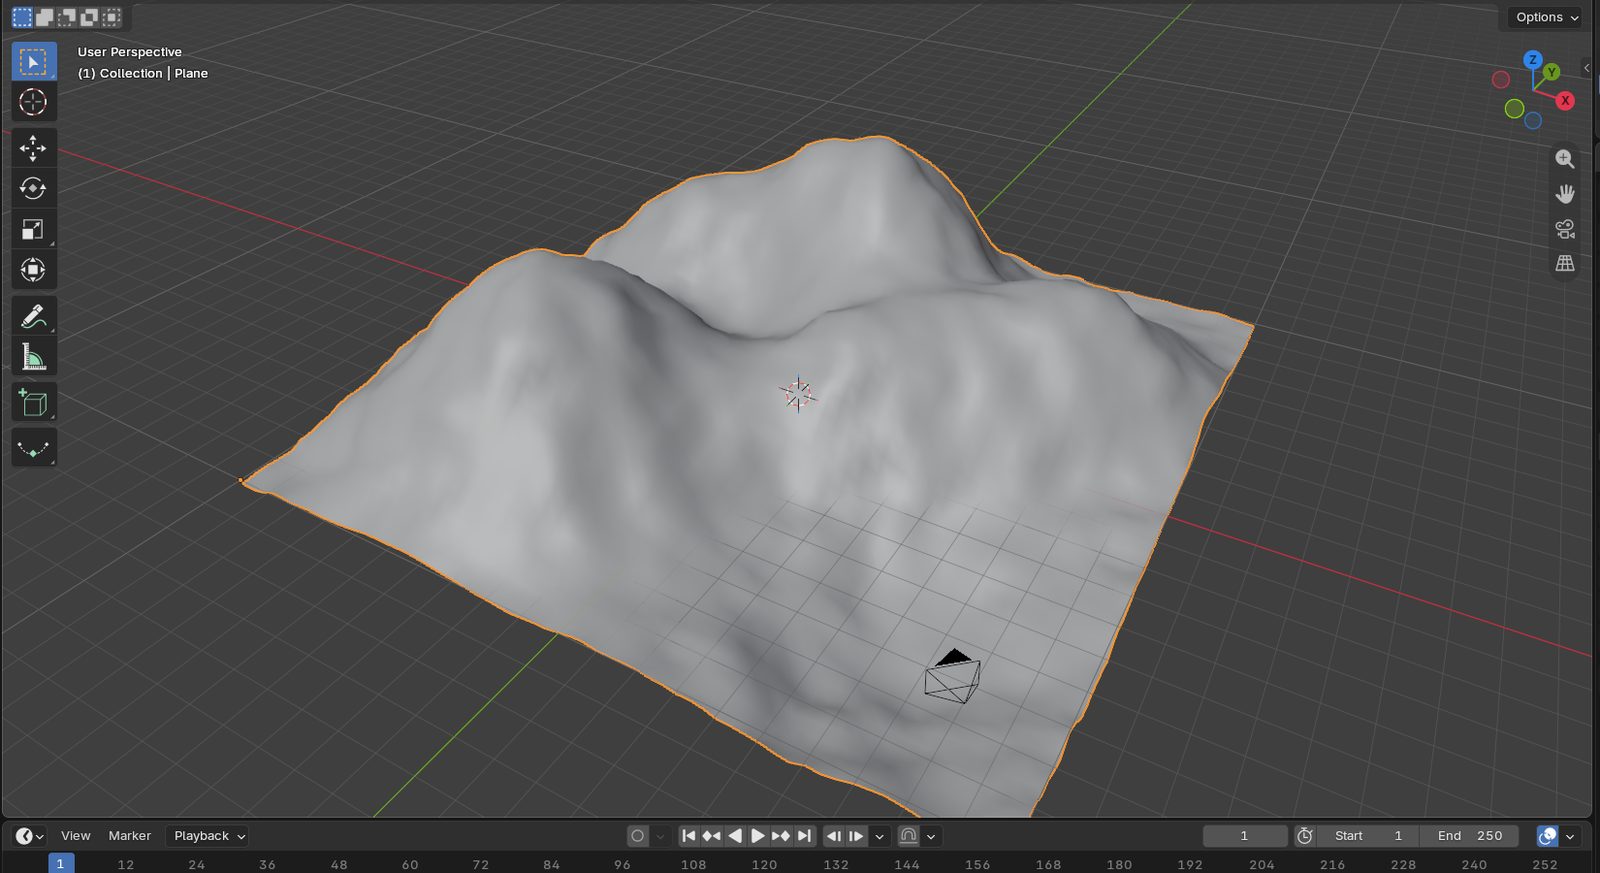
The origin moved to the plane's corner (Object → Set Origin → Origin to 3D Cursor, with the cursor at the corner). The Object tab now reads Location −10, −10: the corner is the handle Unreal will place it by. - Route A — heightmap into the Unreal Landscape
Bake your terrain to a grayscale heightmap and import it as a Landscape. Export 16-bit, not 8-bit. Eight bits gives you 256 possible heights across the whole vertical range, which shows up as visible terracing on any gentle slope — a staircase where you wanted a hillside. Landscape resolution is not free-form either: use the sizes the editor recommends, or you will get seams and bad LOD behavior for reasons that are tedious to diagnose.
Where the Landscape editor lives — it is a mode, not a window, which is why hunting the Window menu finds nothing. There is nothing to install or enable:
- In the Level Editor toolbar, top-left of the viewport, open the Select Mode dropdown (it reads Selection Mode by default) and choose Landscape — or press Shift+2.
- The Landscape panel opens on the left with Manage · Sculpt · Paint tabs. With no landscape in the level yet, it opens straight onto New Landscape.
- Tick Import from File, browse to your 16-bit PNG, and accept the section size and resolution the panel recommends.
- Press Import at the bottom of the panel. To get your normal cursor back afterward, return the dropdown to Selection Mode (Shift+1).
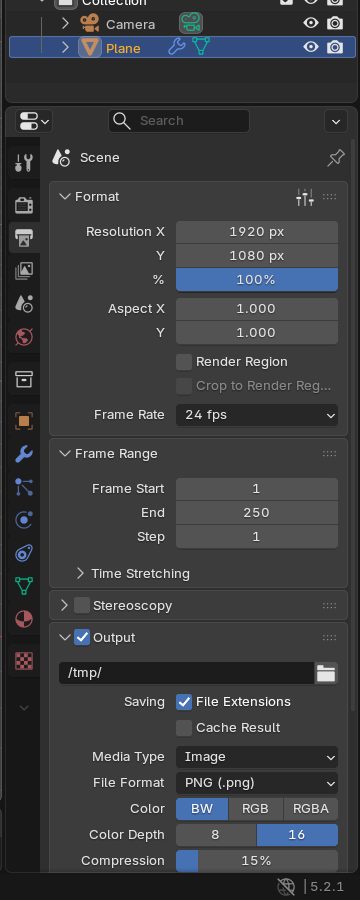
Output properties: File Format PNG, Color BW, Color Depth 16. This is the setting that stops slopes turning into staircases. - Route B — export as a mesh
For anything with an overhang, and for hero rock you want to art-direct closely. Apply transforms (Day 1), export FBX, import as a Static Mesh. Collision does not come for free — auto-generated collision on complex geometry is both wrong and expensive. The standard answer is a simple UCX_ collision mesh authored alongside it.
Not one route or the other — both, layered. The Unreal Landscape system for the ground plane, because it handles scale, material layers and foliage far better than a mesh can. Blender meshes sitting on top of it for the cliffs, arches and overhangs the heightfield cannot express.
That is how production environments are built, it plays to each tool's strength, and it is exactly the setup Week 8 assumes you understand.
- You can say why an overhang is impossible in a heightfield without hedging.
- Your landform reads as terrain from eye height, and you actually looked.
- A 16-bit heightmap is in Unreal as a Landscape, with no terracing on the slopes.
- A mesh version is in as a Static Mesh, at correct scale, with collision you authored.