- Judge a scene at three scales, and know which one to fix first.
- Say what gives a scene its sense of size, and point at the two things in this set doing that job.
- Read the statistics overlay and say where a real-time budget actually goes.
- Put an origin where the handle belongs, and get a set into Unreal at the size you intended.
Brief · 15 min Big, medium, small
Every scene you will ever judge breaks into three scales, and they are not equally important.
| Scale | What it is | On this set |
|---|---|---|
| Big | The silhouette — the shape you recognize as a shape | The black box of the walls; the floor; the body standing on it |
| Medium | The forms that tell you how large the thing is | The truss grid overhead, the three fixtures hanging from it, the apple boxes |
| Small | Surface texture and fine detail | The grain on the boxes, the folds on the suit, the eyes — visible from the camera, and almost nowhere else |
Beginners spend nearly all of their time on small. It feels productive because the screen visibly changes. But if the silhouette is not working, no amount of surface detail rescues it — the viewer has already read the shape and moved on.
The practical rule: squint at your work, or shrink the viewport until it is thumbnail-sized. Whatever survives that is your big shape. Fix it there first.
Scale cues
Nothing in a scene has a size until something familiar sits next to it. A black room with a grid on the ceiling is either a soundstage or a shoebox, and the geometry alone cannot tell anyone which.
This set carries two cues on purpose: a person, 1.82 m, and a stack of apple boxes, the one prop every film crew knows the size of by hand. Hide the character (the eye icon in the Outliner) and the set goes strangely abstract. That is what a human-height reference does, and it is why the old advice for any environment is put one in early and leave it there.
Build · 30–45 min Read the set, then export it
- Open the set and get your bearings
The Outliner lists thirteen objects in one collection: the Armature with three meshes under it (the body, the eyes, the eyebrows — the character, which you leave alone today), the Camera, three lights (L_Key, L_Fill, L_Back), and the five pieces of set: Stage_Floor, Stage_Walls, Light_Truss, Light_Fixtures, Apple_Boxes.
Numpad 0 looks through the camera, which is already framed. Home backs out to see everything. The Z pie from Day 0 gets you to Rendered, where the three lights do their job.
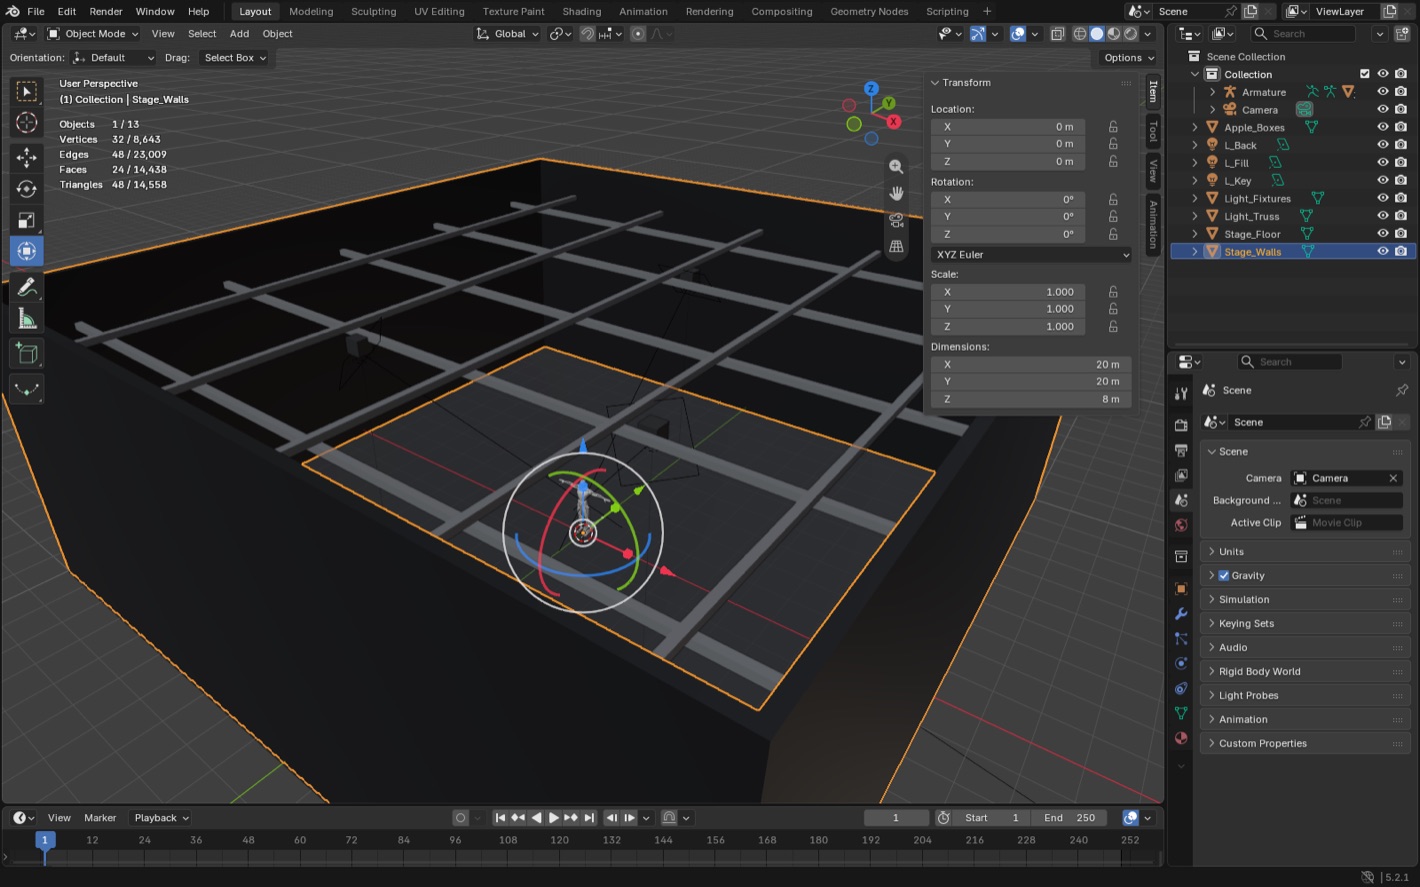
The soundstage from above, walls selected. Thirteen objects in the Outliner; the Statistics overlay (next step) is already on in this shot, and the N panel confirms the walls are 20 by 20 by 8 meters at Scale 1. - Turn on the statistics overlay, and read it
Viewport Overlays → Statistics (the same Overlays dropdown Day 0 showed you). You now have a live triangle count in the corner, and you will be watching that number all term — Week 2 is entirely about what it means.
Now read it honestly. The whole set — floor, walls, truss, fixtures, boxes — is 240 triangles. The character is over 14,000. Click pieces one at a time and watch the first number change. This is where a real-time budget goes, on every production: bodies, not walls. A set that reads with 240 triangles is not a cheap set; it is a set whose big shapes are doing the work.
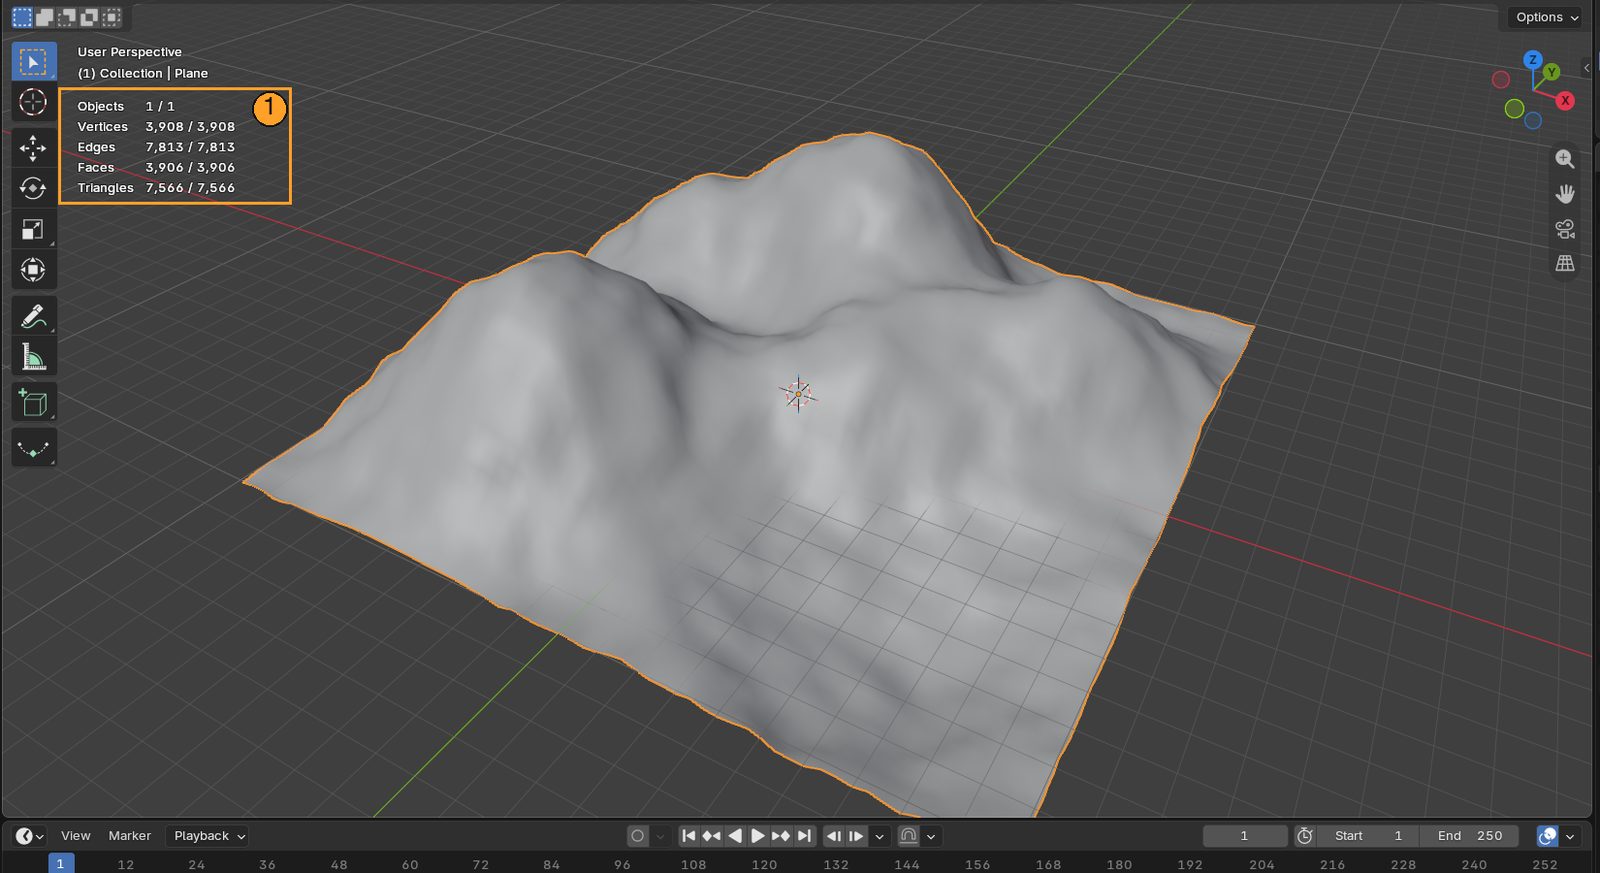
1 The Statistics overlay in the viewport corner: vertices, faces, triangles, live. Overlays dropdown → Statistics. - Judge it at three scales
Look through the camera and squint. The walls, the floor and the figure are what survive — that is big. Open your eyes: the truss and the fixtures tell you it is a room eight meters tall, not a cupboard — medium. Zoom to the boxes: grain — small, and only there.
Ask the question you will ask of every scene from now on: if this shot looked wrong, which scale would I fix first? The answer is always the biggest one that is wrong.
- Try a budget on purpose, then throw it away
Click the body (SuperHero_Male), open the Modifiers tab (the wrench — Day 0), Add Modifier → Generate → Decimate, and pull the ratio down to about 0.25 while looking through the camera. Fourteen thousand triangles become three and a half thousand, and from the camera it still reads. Stop where the silhouette starts to change — that is a budget, discovered rather than guessed.
Then delete the modifier (the X in its header). The supplied mesh is the one you animate; you were looking, not changing. This is the whole game in real-time work: the cheapest mesh that still reads correctly, not the most detailed one your machine can survive.
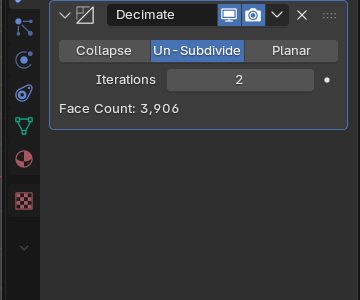
A Decimate modifier. Collapse with a ratio; watch Face Count and the silhouette. On this character it sits below the Armature modifier — leave the order alone. - Find the bad origin and fix it
Click Apple_Boxes and look at the N panel: Location 0, 0, 0. But the boxes are seven meters away, stage left. Their origin — the orange dot, the handle the engine grabs this thing by — is sitting in the middle of the floor, nowhere near them. Placed in a level, every move becomes a fight with a pivot in empty space.
Object → Set Origin → Origin to Geometry. Now the dot is in the boxes and the Location reads where they actually are. Compare Stage_Floor: its origin at the center of the floor is exactly right, because base-center is where you want to grab a floor.
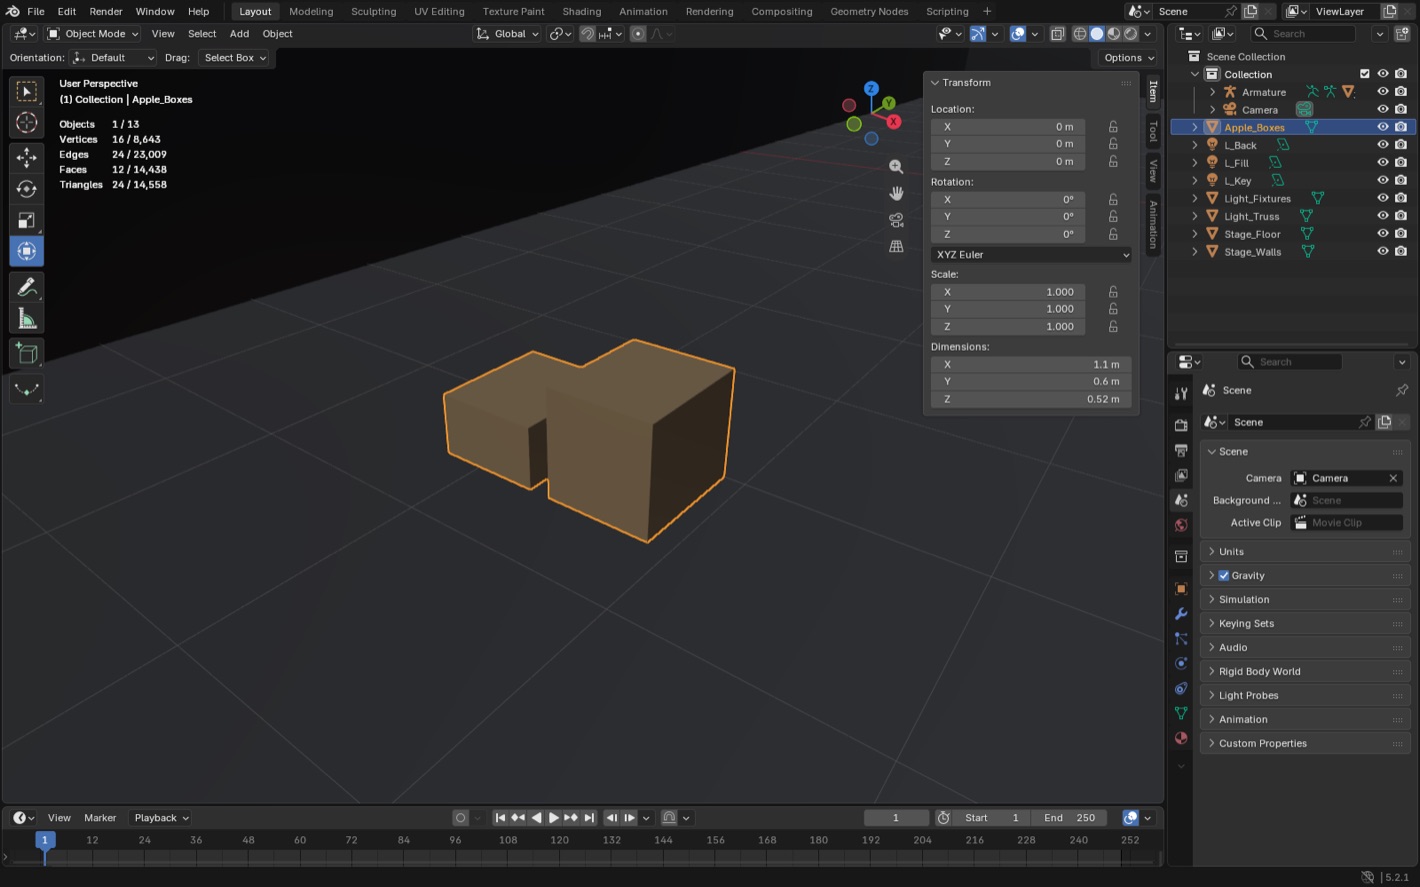
Apple_Boxes selected: the N panel says Location 0, 0, 0 while the boxes plainly sit off to one side. That gap is the origin problem. Object → Set Origin → Origin to Geometry closes it. - Check the contract, then export the set
Click each of the five set pieces: Scale 1, Rotation 0, all of them — Day 1's Ctrl+A was already done for you here. Make it a habit to look anyway; it takes four seconds and saves an evening.
Select only the five set pieces — Stage_Floor, Stage_Walls, Light_Truss, Light_Fixtures, Apple_Boxes — not the character, whose export is Day 6's job and goes a different way. File → Export → FBX, Limit to Selected Objects, Day 1's axes. Import into Unreal as Static Meshes and drop them into an empty level at 0, 0, 0: they were modeled around the origin, so they assemble themselves.
Then check it in the engine: drag in the mannequin. The walls should stand 800 units tall, four and a half mannequins. If the room looks like a shoebox around him, that is a units problem, and you already know where to look. The lights do not come across — relighting the set in Unreal is Week 6's job.
Walk the mannequin into the wall of your imported set and you may pass straight through it. Meshes do not get good collision automatically. If you fall through a floor, or the frame rate collapses when you get near something, that is a collision problem rather than a modeling one.
It is solvable and you will meet it properly later. For now, just knowing which kind of problem you are looking at saves you rebuilding a mesh that was never broken.
- You can name the big, medium and small of this set, and which you would fix first.
- You can say, from the overlay, what fraction of the scene's triangles the character is.
- You decimated the character, watched the silhouette hold, and deleted the modifier again.
- Apple_Boxes has its origin in the boxes, and the set is standing in Unreal at eight meters with a mannequin in it.